Answer
Nov 21, 2023 - 03:51 PM
Hi,
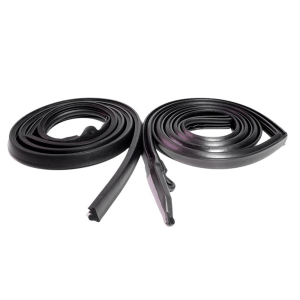
Great question. The roof rail seals are not terribly difficult to install. These do not include instructions - you simply install them in the same manner as the originals. If you are handy this is one of the components that does not really require a professional to do.
1) ALWAYS take the new seals out of the packaging, compare them to the originals to make sure everything is correct.
2) Pay attention to how the old seals were orientated - take pictures prior to removal for reference.
3) After removing the old seals it is really important to clean the surface where the new ones will attach. You can use rubber alcohol or something similar to remove all of the old glue, grime, etc.
4) "Mock" the new seals up so you understand how they install. The left hand and right hand are different so make sure you have them on the correct side. I recommend tacking them in place using a masking tape (no glue yet) so you get a good feel for how they install prior to using any glue.
4) Once you have a good feel for how they go, you can glue them in. Start with the molded end and push in pins on the A pillar and work your way back, gluing as you go. It is crucial to follow the adhesive manufacturers instructions - 3M Super Weatherstrip Adhesive (Black) is the gold standard in the industry. There are you tube videos on using this glue. I HIGHLY recommend practicing with the glue on a scrap piece of rubber to get a feel for it. Take any piece of rubber and glue it to something metal. I cannot emphasize this enough. Using the proper amount of adhesive in the correct fashion makes a HUGE difference. You may need to use masking tape to hold the seals in place until the glue cures.